튜토리얼을 차근차근 따라해 볼 예정.

Getting Started
설치
npm install @vanilla-extract/css
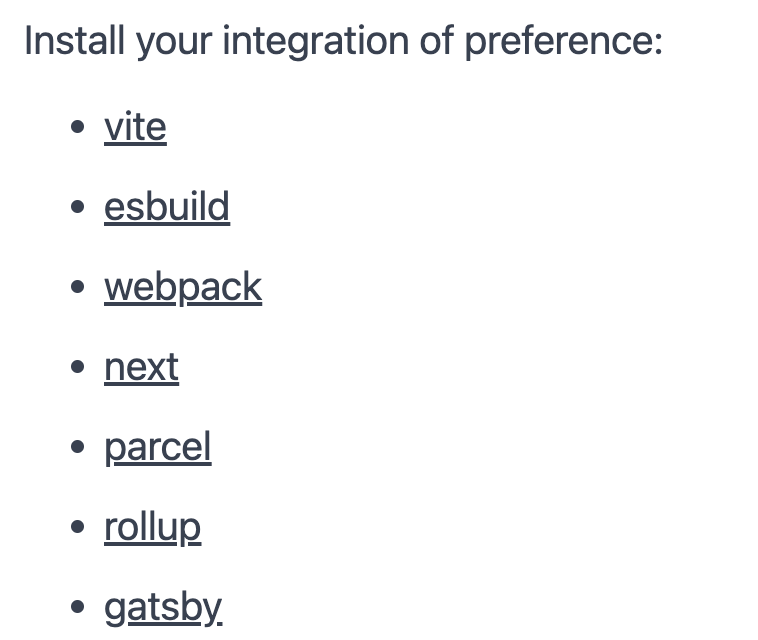
yarn add @vanilla-extract/css번들러 통합
vanilla-extract는 zero-runtime stylesheets를 지원하기 위해, 빌드 타임에 스타일을 최적화한다.
(css class name 해싱 및 생성, 스타일 생성, 불필요 코드 제거 등)
이렇게 최적화된 스타일을 runtime시 추가적인 작업 없이 사용할 수 있도록 하기 위해,
해당 프로젝트의 번들가 vanilla-extract와 함께 동작하도록 설정되어야하는데
→ 프로젝트 번들러에 맞는 vanilla-extract plugin을 추가하는 방식으로 이뤄진다!
next와 함께 사용해 볼 예정이므로
npm install --save-dev @vanilla-extract/next-plugin
yarn add @vanilla-extract/next-plugin --dev
해당 플러그인을 설치한 후
// next.config.js
const { createVanillaExtractPlugin } = require("@vanilla-extract/next-plugin");
const withVanillaExtract = createVanillaExtractPlugin();

/** @type {import('next').NextConfig} */
const nextConfig = {};

module.exports = withVanillaExtract(nextConfig);
next.config 파일에 해당 설정을 추가!
style 만들기
A stylesheet can be made by adding a .css.ts file into your project.
.css.ts postfix가 붙은 이름의 파일에 스타일을 작성해주면 된다.
next 13의 app directory를 사용하고 있으므로
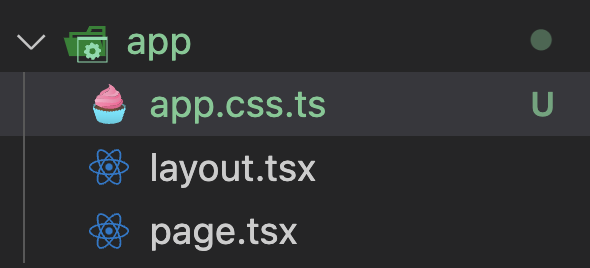
해당 경로에서
// app.css.ts
import { style } from "@vanilla-extract/css";

export const container = style({
  border: "1px solid red",
  paddingLeft: 10,
});
다음과 같이 작성해줬다.
이렇게 작성했을 때 2가지 일이 일어나는데
1. local scope class 생성 → css 파일의 고질적 문제였던, 다른 스타일시트의 className 중복 문제를 겪지 않는다.
2. 생성된 class명 export → 사용처에서 해당 className을 호출해 typescript 변수처럼 사용할 수 있다. (참조 및 타입추론 O)
// page.tsx
import React from "react";
import { container } from "./app.css";

const page = () => {
  return <div className={container}>i'm container</div>;
};

export default page;
위와 같이 작성해주면

위와 같이 container란 변수를 난수화된 className으로 전처리됨을 확인할 수 있다.
Styling
vanillan-extract의 모든 styling API들은 style object를 input으로 받는다.
즉 스타일 코드를 javascript object로 작성함으로써
1) type 추론 및 type-safety 제공 2) 자동완성 제공 이 가능해진다. 다른 모든 애플리케이션 코드들처럼!
Css Properties
style object의 최상위 수준에서 css 속성을 정의할 수 있다.
// app.css.ts
import { style, globalStyle } from "@vanilla-extract/css";

export const container = style({
  border: "1px solid red",
  paddingLeft: 10,
});

globalStyle("body", {
  margin: 0,
});
이 때
- 모든 속성을 camelCase로 작성되며
- 일부 속성은 값으로 숫자 입력시, px 자동 추가됨을 확인할 수 있다.
Vendor Prefixes
vendor specific 속성 사용 시 시작 '-'를 제거하고, PascalCase로 작성해야한다.
import { style } from '@vanilla-extract/css';

export const myStyle = style({
  WebkitTapHighlightColor: 'rgba(0, 0, 0, 0)'
});

// 아래와 같이 변환
.styles_myStyle__1hiof570 {
  -webkit-tap-highlight-color: rgba(0, 0, 0, 0);
}
CSS Variables
css variables는 vars 키워드 내부에 선언해야한다.
import { style } from '@vanilla-extract/css';

const myStyle = style({
  vars: {
    '--my-global-variable': 'purple'
  }
});
이 때 createVar api를 통해, 임의의 변수명을 생성하고 참조할 수도 있다.
import { style, createVar } from '@vanilla-extract/css';

const myVar = createVar();

const myStyle = style({
  vars: {
    [myVar]: 'purple'
  }
});
Media Queries
@media key를 통해 media queriey들을 스타일 정의에 포함할 수 있다! (와!)
import { style } from '@vanilla-extract/css';

const myStyle = style({
  '@media': {
    'screen and (min-width: 768px)': {
      padding: 10
    },
    '(prefers-reduced-motion)': {
      transitionProperty: 'color'
    }
  }
});'source-code > FrontEnd' 카테고리의 다른 글
| 유한 상태 기계를 통한 사용자 선택 UI 개발 (feat xState) (0) | 2023.10.11 |
|---|---|
| vanilla extract 사용하기 - Selectors (0) | 2023.08.31 |
| testing-library/react-native를 통한 컴포넌트 테스트 2 (0) | 2023.08.18 |
| testing-library/react를 통한 컴포넌트 테스트 (with RN + expo) (0) | 2023.08.18 |
| aria-label 을 통한 웹 접근성 향상 (0) | 2023.08.18 |


